Your disc brakes are a crucial part of your bike. So maintaining them properly is a must. Over time, your bike brake pads wear out and you will need to replace them.
Fortunately, replacing your bike brake pads is not difficult. In just a few steps and with limited tools, it can be done in no time. So no need to run to the bike shop.
Read in this article when you should replace the pads on your bike brakes, what you need and how to do it. Here we discuss the most common brand of brakes, Shimano, but other brands work similarly.
When should you replace your bike brake pads?
Noise
when you hear a “honking” sound when braking, it may be time to replace your bike brake pads. Of course, it is always possible that your brakes make some noise on wet muddy rides. This is more likely due to dirt on the discs and on the brake pads. So first make sure your disc brakes are clean.
Brake pad thickness
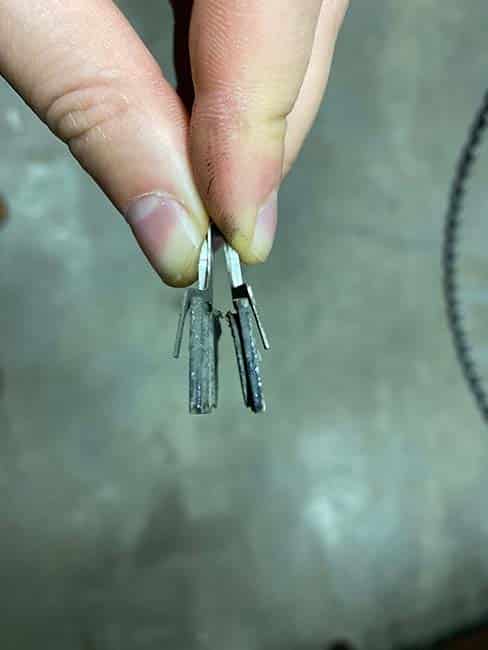
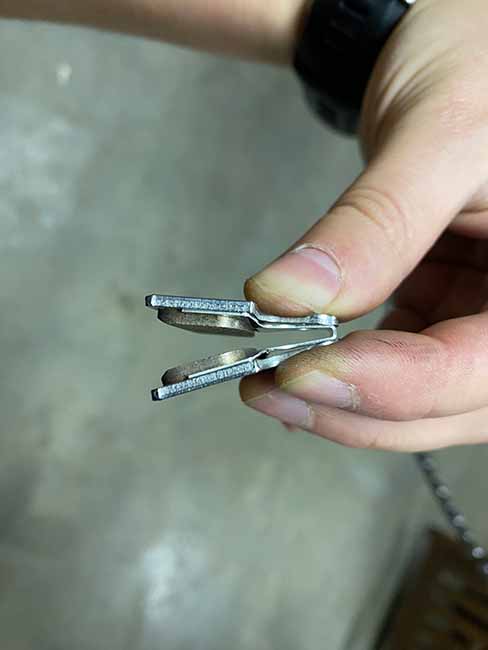
The brake pads consist of two parts: 2 plates with on the inside the contact surfaces with the disc. It is these contact surfaces that will wear out over time and thus reduce in thickness. When less than 0.5 mm of the contact surface remains on at least one of the two sides, it is time to replace the pads.
Deteriorated brake performance
When you notice that the brakes no longer function as before. However, this can be due not only to worn brake pads but in the case of hydrolic brakes to e.g. air or dirt in the lines. “Bleeding” your hydrolic brakes can also be the solution here.
Different types of bike brake pads
There are different types of brake pads for the disc brakes on your bicycle. Before you start replacing bike brake pads, you need to know which brake pads you need.
Brake pads can be divided into 3 categories based on material composition: Organic/Resin, Semi-metallic and metallic.
Organic/Resin
These are brake pads made from organic materials. This allows you to brake very precisely and powerfully but they wear out faster. They are also not really suitable for wet and muddy conditions.
Semi-metallic
Consist of a mix of organic materials and metal. This is the golden mean for all-round braking performance.
Metallic
These brake pads are made of metal. This type of brake pad is ideal for wet and muddy conditions. Your brake discs do wear slightly faster with this.
| Zacht (Organisch/Resin) | Medium (Semi-metallic) | Hard (Metallic) | |
| Material | Organic materials | Mix van organic materials and metal | Metal |
| Durability | Low | Average | High |
| Dosage | High | Average | Low |
| Tolerance for high temperature | Low | Average | High |
| Brake force | High | Average | Average |
| Noise during braking | Low | Average | High |
What material do I need to replace my bike brake pads?
- New brake pads
- Allen wrenches
- Brake cleaner
- Tire lifters (plastic)
- Clean cloth
How do I replace my bike brake pads?
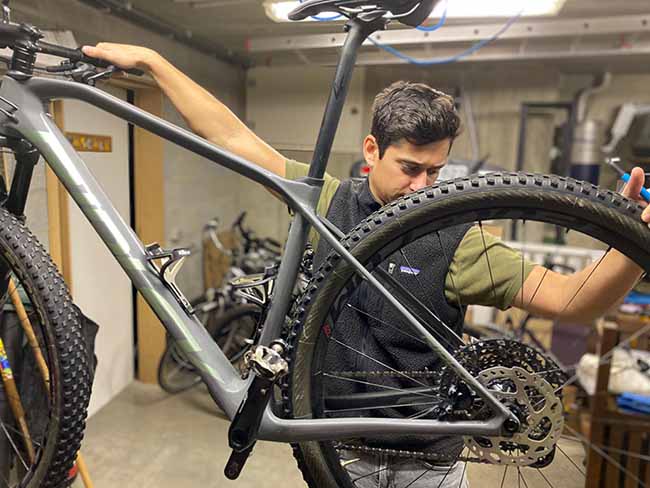
Step 1: Remove the wheels
Before you can remove the bike brake pads from the calipers, you must first remove the wheels. With the front wheel this is easily done by unscrewing the wheel hub. With the rear wheel you have to push the rear derailleurs forward so that the tension of the chain is reduced and you can remove the rear wheel.
TIP: It is easier to work with a mounting bracket or suspension system.
NOTE: Once the wheels are out of the frame, there is no longer a disc between the brakes. From now on, do NOT pull the brake levers on the handlebars. Otherwise you will not be able to get the pistons of the calipers open.
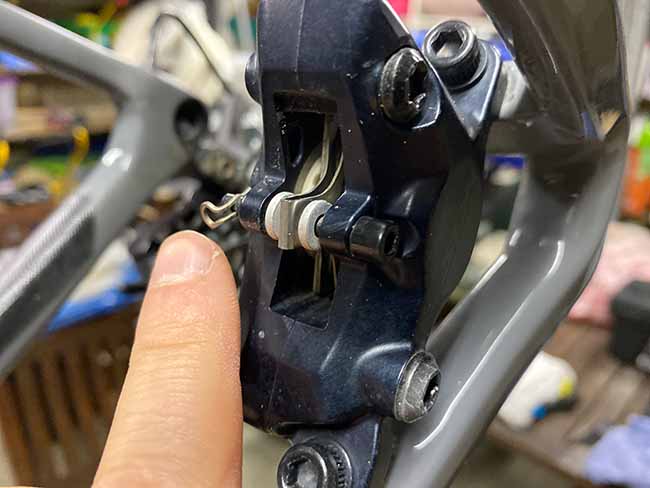
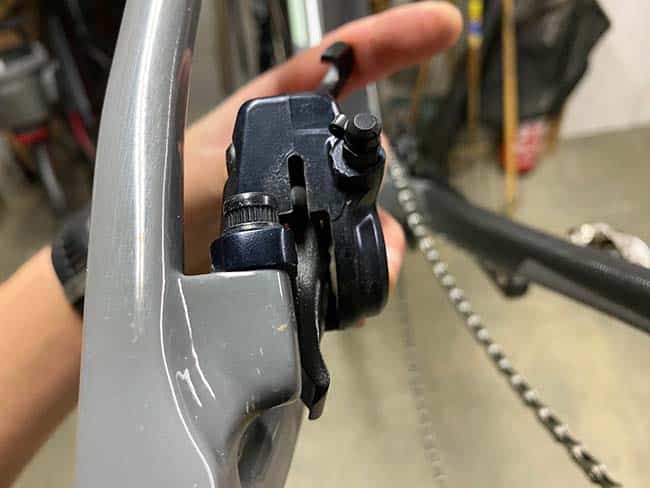
Step 2: Remove the screw holding the brake pads in place
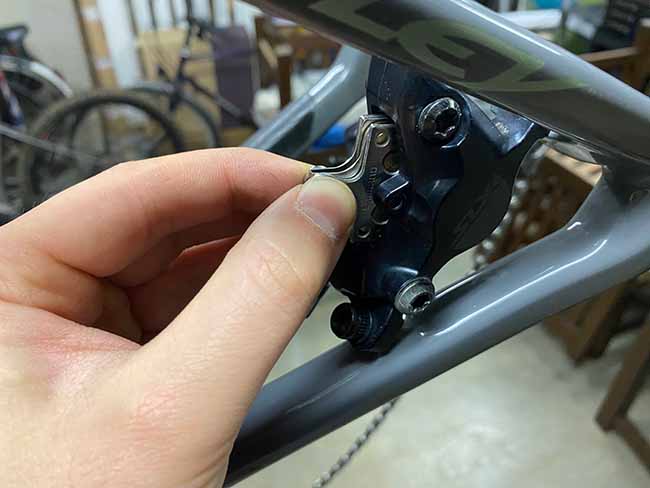
Depending on what type of Shimano disc brakes you have you either have a screw or a loop-shaped pin.
In the case of a pin, you have to use pliers to bend the pin straight at the end before you can slide the pin out.
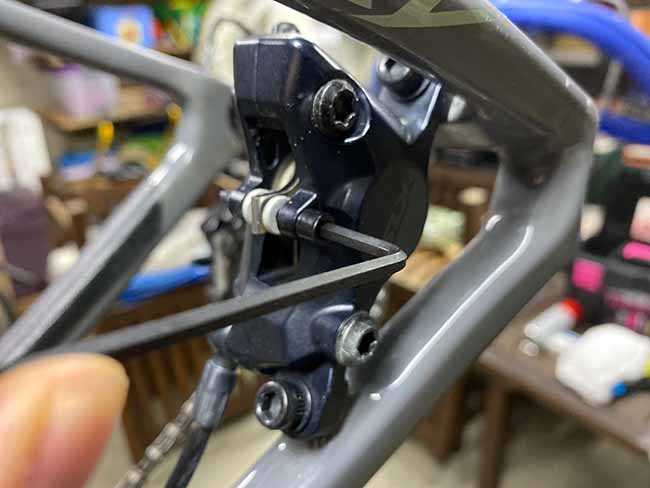
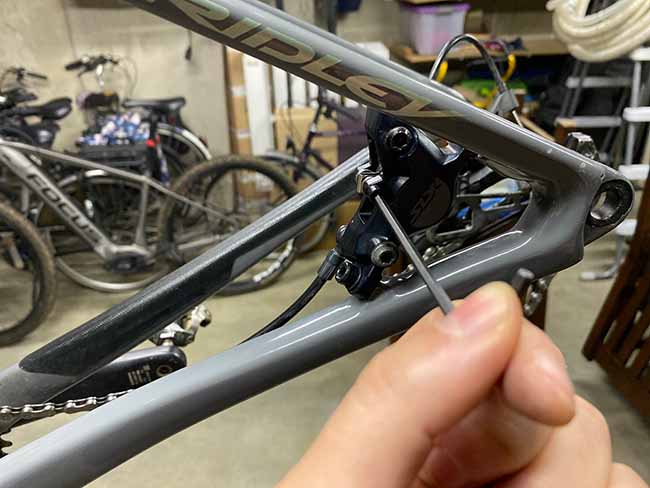
In the case of a screw, you must first remove the locking clip. Then you can loosen and remove the screw with an Allen wrench.
Step 3: Remove the old bike brake pads
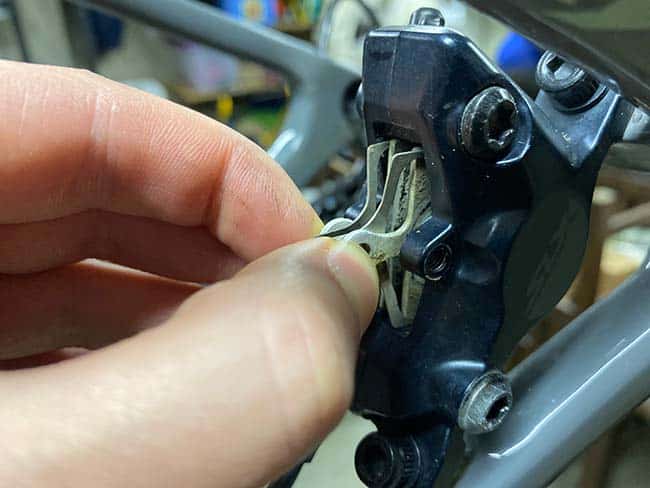
Now pull the brake pads out of the calipers. Make sure you remove both the plates as well as the spring together. Do this carefully so the parts don’t jump out and you can remove the brake pads completely from the calipers. This way you can see how the brake pads were mounted.
You can also clearly see now whether the brake pads are actually worn out or not.
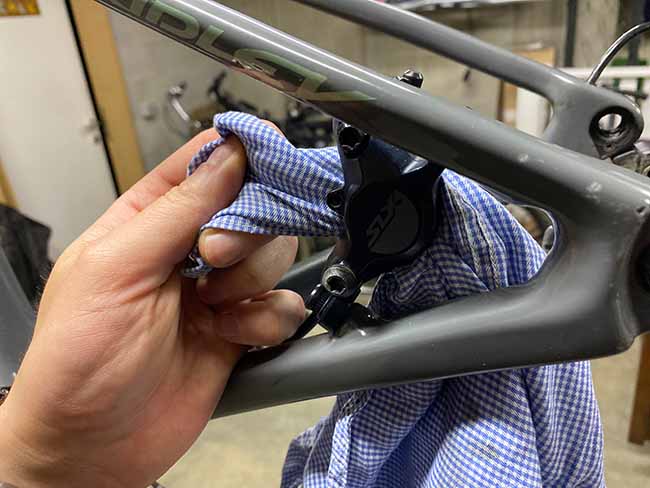
Step 4: Clean the calipers
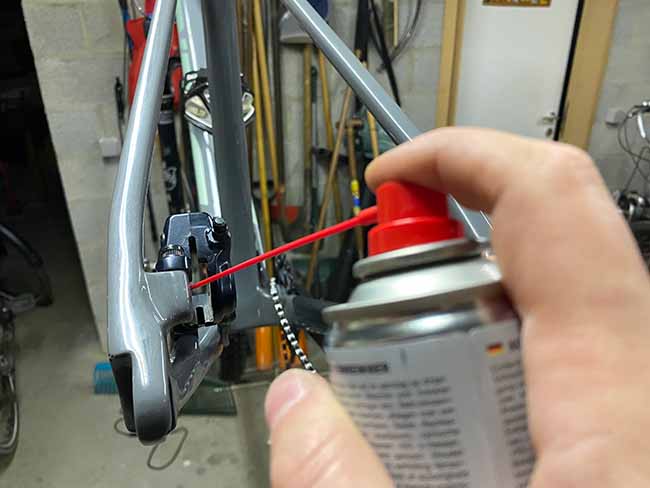
Clean the calipers and pistons with a clean cloth. Spray some “brake cleaner” in the calipers and on the pistons and wipe with a cloth until there is no more dirt. Be careful not to spray “brake cleaner” on your frame because some products can corrode the paint on your frame.
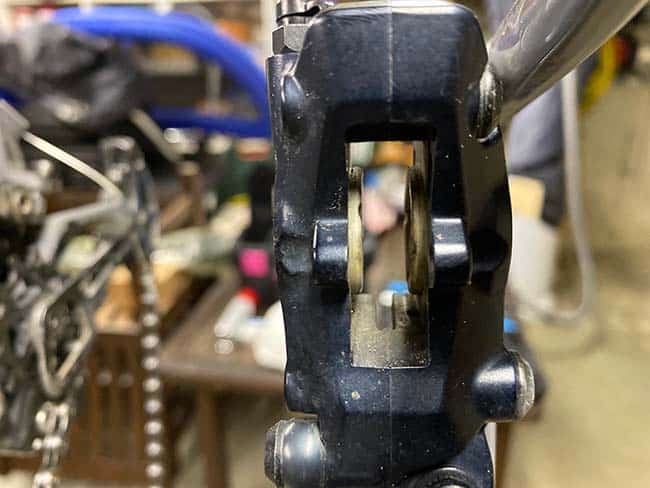
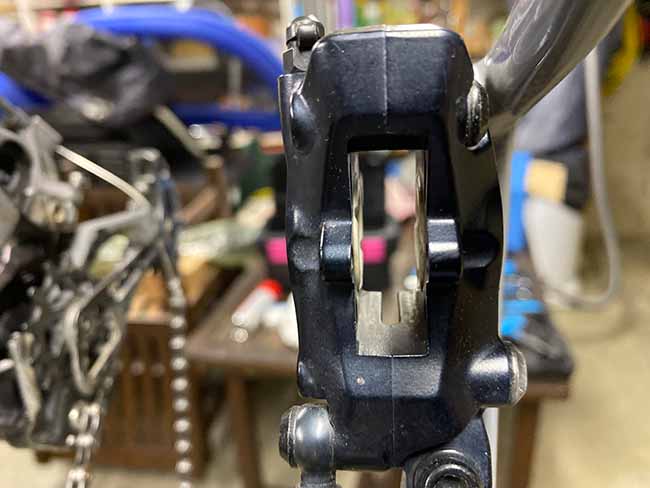
Step 5: Push back the pistons of the calipers
As the brake pads wear down, and thus become thinner, the pistons can increasingly come out of the calipers during braking. When you look inside the calipers, you will see that the pistons stick out a bit toward the center (where the disc would be).
Before you can install the new brake pads you need to push the pistons back into the calipers. There is no need to buy a special brake pad spreader for this. It can be done perfectly by using plastic tire lifters.
Place a tire lifter between the caliper and push pistons back into the caliper. Do this on both sides until when the pistons are back in place nicely in the calipers.
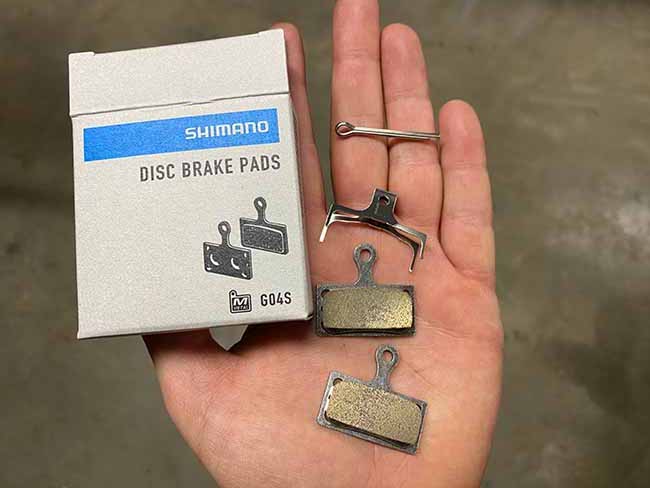
Step 6: Install the new brake pads
Shimano’s new brake pads usually come with two pad plates, a spring and a loop-shaped pin. You don’t need the latter if you have brakes with a screw (see step 2).
Place the spring between the two pads and slide the whole thing into the calipers. You can possibly look at how the old brake pads were mounted (step 3).
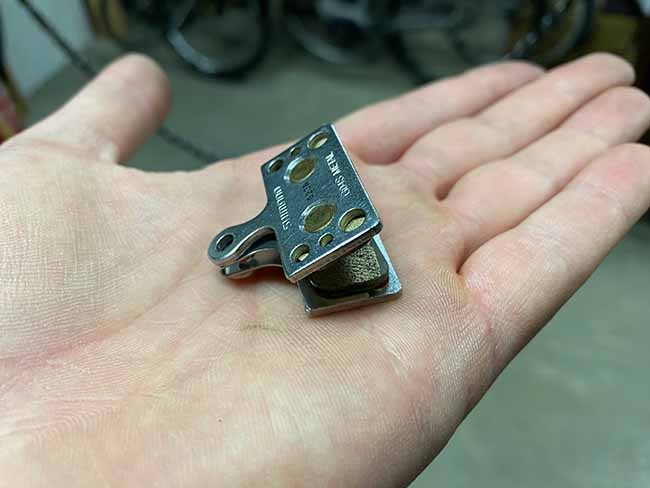
NOTE: Shimano bike brake pads have a right and a left side. This is indicated on the spring or plates. So you have to take this into account when fitting the new brake pads in the calipers. Left and right sides of the calipers are determined according to perspective when you sit on the bike. So the outer side of the brake pads is the left one.
Also, make sure not to touch the contact surfaces with your fingers (for that matter, neither the discs). By doing so, you make the brake pads and discs greasy which reduces braking capacity.
Step 7: Screw the brake pads back on
Now replace the pin or screw to fix the pads. In the case of a pin, use pliers to bend the end of the pin after insertion.
In case of a screw, replace the locking pin.
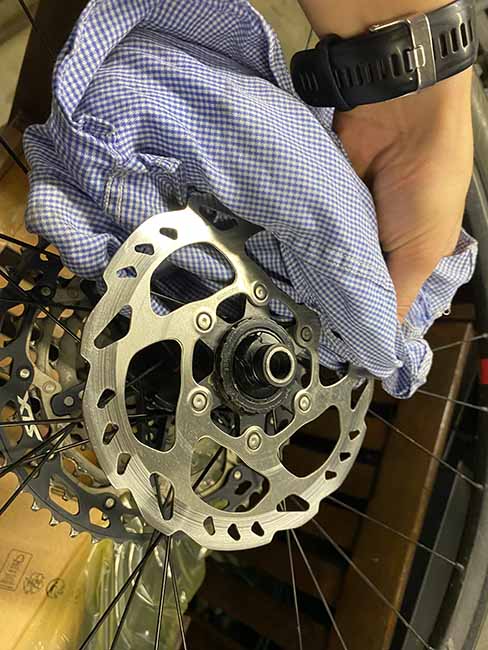
Step 8: Clean the discs
Before putting the wheel back on, clean the disc. It is important that the disc is clean when installing new brake pads. The new pads leave a residue on the disc after braking (step 10). As a result, the brakes work optimally but the disc must be clean when you start.
Spray some “brake cleaner” on a clean cloth and rub both sides on the disc.
Step 9: Replace the wheels
After cleaning the discs, you can replace the wheels.
Step 10: Brakes
Before riding the bike, the brake pads must be “broken in”. This is done by riding the bike 10-15 times on a flat dry surface and applying the brakes at a constant pressure.
Lo and behold. You’ve replaced your bike brake pads yourself and you’re ready to go!
Featured products
(Disc) brake cleaner
To clean your brake pads, calipers and discs it is best to use a special product based on alcohol. We highly recommend the Muc-Off brake cleaner. Unlike other products, it is not an aggressive product and is therefore safe for your frame. It moisturizes the brake pads and thus greatly reduces the squeaking of your brakes.

Tool kit bicycle maintenance
If you want to tinker with your bike yourself, you will soon need some special tools. Think of bottom bracket tools, for example. Buying those tools separately will quickly cost you a lot more than buying them together in a toolbox. Such a bike maintenance tool kit also contains most of the tools you need to do all the work on your bike yourself.
For an extensive toolbox you do have to put down some euros. But it will pay for itself pretty quickly when you can do your own maintenance and don’t have to go to the bike shop.
Mounting stand for your bicycle
An assembly stand for your bicycle is very useful when you want to perform maintenance on your bicycle yourself. You can easily remove wheels, adjust gears, polish parts, etc…