Planning to ride a MTB marathon for the first time but you don’t know how to prepare? After I rode the Stoneman Gold I received some questions regarding the preparations we’ve made to ride the Stoneman Arduenna (a mountain bike ultra marathon challenge). So I listed 8 tips and tricks and one special bonus tip at the end that can help you to ride your own Stoneman Adventure. These tips involve for instance what gear you should pack, how to train during the preparation period and nutrition.
If this is the first time you’re going to ride a MTB marathon challenge then these tips are definitely for you. However, I want to mention that i’m not a professional athlete nor a personal coach! These tips are based on our own experiences and should be treated as such that being said i think these tips can definitely help you to successfully ride your own ultra MTB marathon so let’s get started. It sure helped me to successfully ride the this ultra MTB marathon challenge.
Tip 1: biking gear on point
Before you start you want to be absolutely sure that your bike and gear are both on point! The last thing you want is having to quit your ride due to mechanic breakdown that you probably could have prevented. Your fitness is one thing but your bike needs to be fit as well. On such a large trail your bike is going to get a beating. I took mine for full maintenance at the bike mechanic shop and at the end of the Stoneman Arduenna Gold my button bracket was loose as well as my rear wheel. The guys from the Stoneman worked out a seven point checklist that can help you to verify if your bike is ready to go or not:
- First check the handlebar. Check that components such as stem, handlebar and grips are mounted correctly and securely.
- Secondly check the brakes. Push your bike and alternately test the brakes to see if the pressure point of the brakes is clearly noticeable.
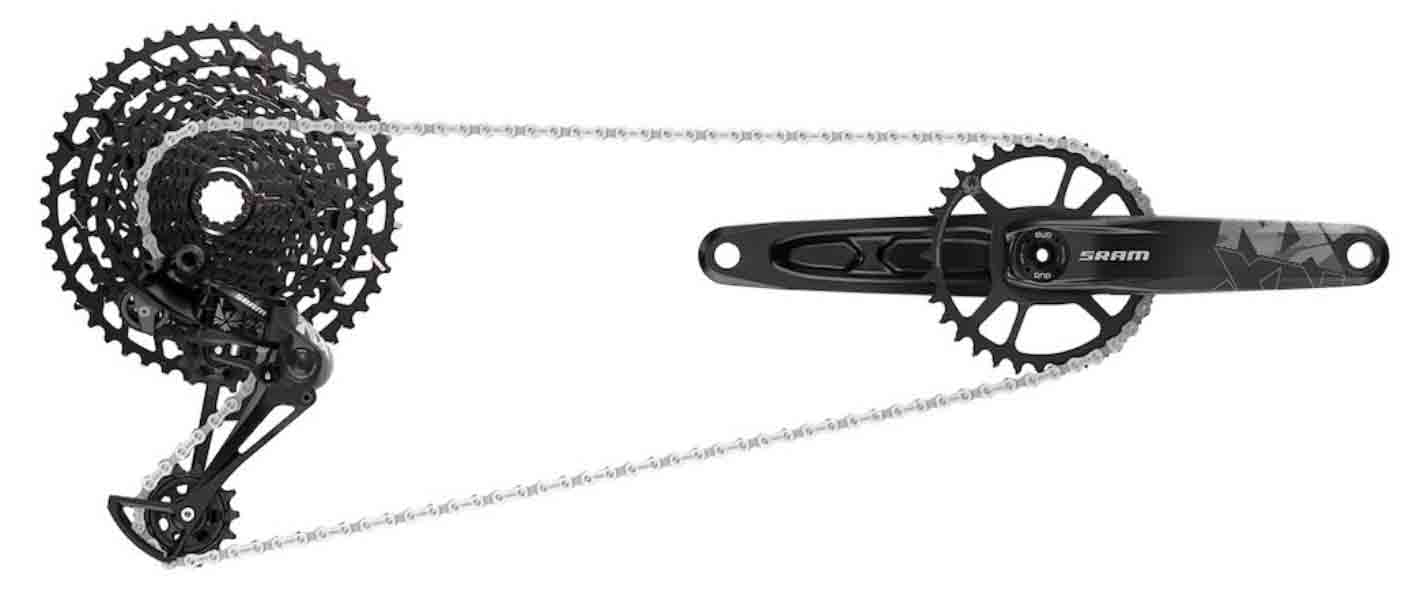
- Next, check your gears. While driving on flat terrain, shift through all gears and adjust gears if necessary. Lubricate your chain and your gears!
- Check number four, the tires. Check the tires for any damage and tire threat depth. Is the air pressure okay? Is the rebound set to your weight and to the conditions of the trail that you’re going to ride?
- Number five: suspension check. Do shock and fork have sufficient pressure and is the rebound set correctly to your weight and conditions of the trail?
- Check your pedals: check whether the pedals and cranks are firmly mounted and turn without noticeable resistance for click pedals check the mounting of the cleats.
- Finally, check number seven, your helmet place your helmet horizontally and tighten the head ring and chain strap but make sure that the helmet fits comfortably and without pressure.
Tip 2: pack some spare parts
You’ve done everything you could to prepare your bike to be just on point but nevertheless sometimes shit just happens and you’re gonna have a breakdown along the way anyway. So that’s why you need to pack some spare parts. For instance when i was riding the Stoneman Arduenna my rear wheel got loose and I was able to fix it because I had a mini tool with me. So a mini tool is one of your tools you want to take with you. Other spare parts or tools you want to pack are spare inner tubes or a tube repair kit, a pump or cartridges to fill up your tires, a leatherman if something gets blocked you’ll be able to fix it, some tire lifters and some lubricants because it’s gonna be a long ride and you’re gonna need it!
Tip 3: plan your trip according to the weather conditions and your training level
The weather conditions, whether it’s on the riding day itself or the days before you’re gonna ride a trail, have a huge impact on how hard the ride for you will be. The first time we rode to Stoneman Ardunna we started with tropical humidity followed by thunderstorms and lots lots lots of rain. These kind of conditions will make it extra challenging, both mentally and physically. So if you can plan your trip when the forecast says dry weather and not too warm. However, the Stoneman Arduenna trail seems to dry up pretty fast after days of rain. Choosing your date when you want to ride your Stoneman Arduenna adventure or any other MTB ultra marathon has influence on how many hours of daylight you will have to complete the trail. For instance at the end of June or beginning of July you will have the longest days which will give you more time to complete the ride (at least in Belgium). This will give you more time to take some breaks do some repairs and ride the trail at a lower average speed.
Tip 4: wear appropriate clothing
Depending on how skilled and trained you are it will take you shorter or longer but bottom line on a trail of 176 kilometers it’s gonna be a long day. On average you’re gonna be in the saddle for more than 10 hours so be sure that you wear an appropriate pants with good cushioning. On such a large distance you’re crossing several regions and the weather can change rapidly so be sure that you’re prepared for this and you bring clothes for both dry and wet conditions.
Tip 5: train towards the goal
We started training for the stoneman five months prior. At that time we were already riding some mountain bike trails around 45-65 kilometers. But a trail of 176 kilometers, with 4 000 vertical meters, demanded some specific training. The first few months we focused on driving up the volume which means longer rides at a moderate intensity. This way you can make your body adapt to long hours in the saddle and boost your body’s oxygen uptake capacity. Since high intensity is not the goal here, you can use a road bike to do these kind of trainings (if you have one of course). These longer rides were mostly done during the weekends, with one or two shorter rides during normal weekdays. After three months of training on volume we started to shift towards shorter rides on the mountain bike but with a higher intensity and a lot of vertical meters. You will have to conquer almost 4 000 vertical meters along this trail so it’s very important that your legs are trained for this. Gradually increase the amount of vertical meters that you ride towards the end of your schedule. We’ve done a nice training route in the region of Ouren. The GPX route of that trail is available on this website here. In addition during this 5 month training period we also trained in the gym to increase some overall strength and stamina. We mostly used HIIT training formats for this.
Tip 6: make a carb food drink schedule and stick to it
This is the GOLDEN tip!!! This is probably the most important tip of all. Keeping your body fueled on such a large distance will make a huge difference in victory or defeat. If you don’t put sufficient fuel in your body every hour, your body will slowly run out of fuel which will lead to extreme fatigue and not making it to the finish line. So one or two months prior before you ride your MTB marathon challenge try to estimate your average speed goal and your total exercise time. The total exercise time is not your active riding time. It’s the time from start until the end. It’s your active riding time including your brakes. This is important because a human body can only stock fuel in the form of carbs for 90 minutes of exercise. So on average you will have to take 60 grams of carbs each hour! you can choose in what form you take these carbs whether it’s via sports bars/sport gels or isotonic drinks. With your estimated total exercise time you can now calculate how many drinks and food you will have to take with you. Sport nutrition brands like Sanas for instance make this very easy because each unit is packed with 30 grams of carbs. So develop your carb schedule and test it out one or two months prior to your MTB marathon challenge. This way on a long ride you can find out if it’s enough carbs for you and if your digestive system can take it or not. If this is the first time you’re gonna use something like this your digestive system will have to adapt to consuming and digesting such large amounts of carbs every hour. When you’ve got your carb schedule on point it’s very important that you stick to it during your ride, even when you’re not feeling thirsty or hungry at some points. On such long rides this will mean that you will have to pack a lot of food and drinks so you will either need a large good mountain bike backpack or you will have to ask some of your buddies to bring you new supplies along the way :).
Tip 7: pick your starting points
Not every part of the trail is equal. Some stages are a lot harder compared to others. The heaviest part is definitely the southern part of the trail between Heresbach and St. Vith. We didn’t want to start with the heaviest part because we wanted to be sufficiently warmed up but we didn’t want to ride it in the end either. So that’s why we chose to start in Malmedy so that the heaviest part would be approximately in the middle of the day. Don’t be misled about the map of the Stoneman Arduenna which shows the height profile of the trail. Based on this map it looks like the hardest part or the heaviest part is between Malmedy and High Fens because it shows the biggest climb on the map. Although this is the highest point of the route climbing percentage is very low which makes it a long climb but a very easy one. For accommodation I suggest you book with one of the partners from the Stoneman. There are partners all over the route and the advantage is that these people are used to having mountain bikers as clients which come with dirty clothes and dirty bikes and you will probably even have the option to wash your bike and store your bike safely afterwards.
Tip 8: develop a riding schedule and take your breaks
In tip number six you already needed to calculate your average speed goal as well as your total exercise time. You can now use those two metrics to calculate how long you will ride between two checkpoints and at what time you will have to be at a certain point along the trail. That way you can easily check if you’re still on schedule and you have to maybe speed up a bit or chill down a bit. It’s also very important that you plan your breaks in advance making non-planned stops will cost you a lot of time at the end of the day so plan where you will take your stops and for how long and stick to it!
Bonus tip: is gonna be a long day and poop comes and poop goes! So you better bring some tissues and be prepared ;)!
So these were my key tips… if you have any questions leave a comment below. As for now all I can do is wish you a lot of fun and good luck with your Stoneman Adventure or your MTB marathon adventure! See you in the woods or in the next video/post!
Cheers.
